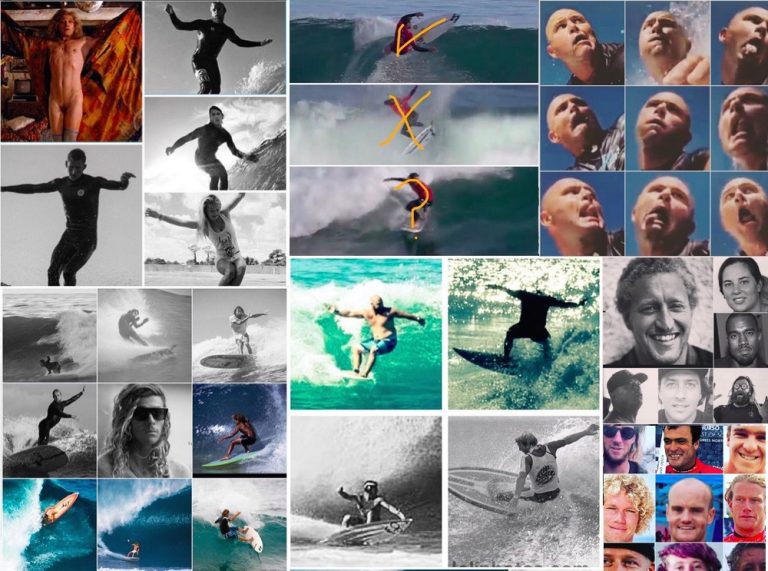
How 2 Shoot A Water Shot
with Timo
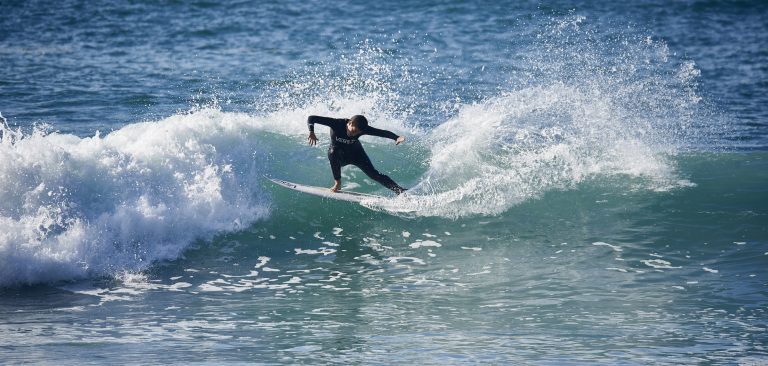
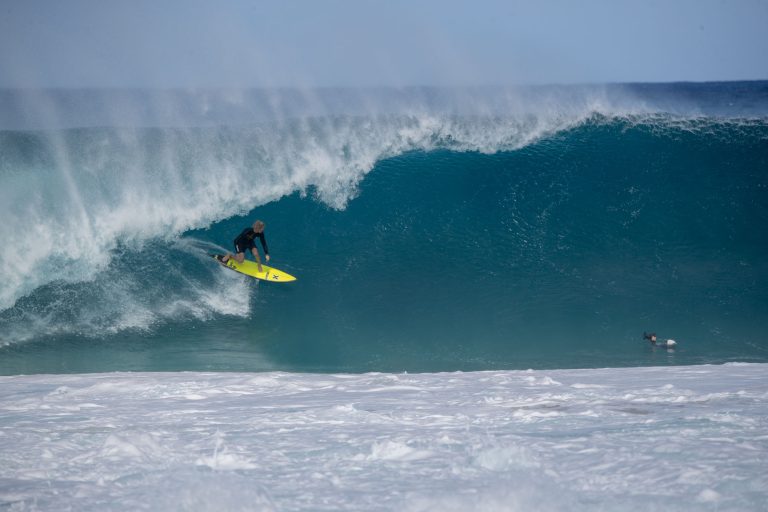
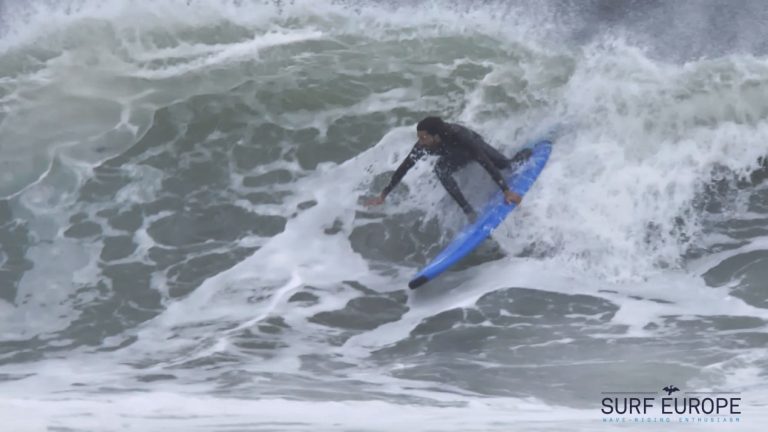
Giving a view from the shoulder, under the lip or behind the wave, water shots give the surfer’s view from the water – and as a result carry an extra intensity that anyone, surfers and non-surfers alike can appreciate. Not only are they impressive by nature, but despite the often temperamental nature of water housings (the thing they put their camera in so it doesn’t drown), it’s actually cheaper to start producing professional quality water action images than land ones.
1. Get the right equipment: housing, camera, lens. There are only really a few lenses that guys who know what they’re doing are using. One cheaper option is to jump in and get a film set up to start out. Then, for a digital set-up you’re looking at around 3000 euros, that’s working with one lens.
2. You need to learn what to do on your lens port, whether you lick or rub it to get rid of water drops. It’s pretty much a secret for most guys what they do, no one‘s gonna tell you, but you will need to figure it out because this is how you get sharp water shots. You can shoot wet or shoot dry, but you need to figure which one out for yourself.
3. Bruce Lee once said, “Put water in a cup, it becomes a cup, it can flow or it can crash, be water…” People trip out when it’s a heavy shore dump and you jump right in, but if you can be one with water, you get out and get back using the rips. Don’t do too much, find the right gap and jump in.
4. Work on your positioning – not getting in the way of the surfer but being in the best spot, by practice. Don’t get too excited when you get one shot, think about it again, how could you be better positioned, to improve your technique. You need to know the exposures already, all the tech bits and pieces, because when it’s time to go, it all moves pretty fast. You need your basics, then your positioning. There’s no time to fart about in the impact zone.
5. If you already see someone swimming, don’t just rock up and try to shoot in front of them, respect other crew. In places like Hawaii guys you see in the water aren’t there for fun, they’re trying to pay bills.
6. Try to grow some balls. Guys that are not afraid of getting pounded are the ones who’re going to learn faster. It’s physical, you need to have taken on your fluids. A lot of the top water guys are former bodyboarders, an ideal breeding ground coz they’re used to being pounded in thick shorebreaks. That’s the one thing that sets guys apart, anyone can shoot from a boogie board, but the best guys are the ones deep at Pipe, Aichner and the like. It’s not just about fish-eye, but you need to master it if you want to be complete, and it’s the hardest thing.

HOW 2: SHOOT A LINE-UP
with Alex Laurel
We’ve all done it. Been away on a trip somewhere, scored epic waves, frantically shot a few pics as an afterthought and then when showing them to your mates, doing the really desperate, ‘Honest, this bit here was way hollower than it looks,’ while they roll their eyes at each other. We all know that the ocean, like most things, looks way more impressive standing there on the beach or cliff than in a print or on a computer screen. To get more out of your line-up pics, SE Photo Ed Laurel offers the following tips.
1) When you decide the wave you want to shoot, take a couple of sets to move around and see what angle will do more justice to the wave. Don’t stand about staring in wonder too much because at beachbreaks with tides, there may only be 2 or 3 sets that will be mental and they’re the ones you want to record. Shooting from in front will give better indication of the size, from the side of the shape. Try to get some foreground or background in too, if it’s big, something common like vehicles or people will give a gauge of the size.
2) Look at the ocean for the best waves, the ones that break boards. If you’re a beginner, look at the waves that you wouldn’t want to go surf. That’s where people will stop and go, ‘Wow!’. Just remember that it’s always more impressive to see the action live than frozen, so you’re trying to maximize the impact in your shot. Study the sets and anticipate, maybe a set coming more north could give better rights, more west better lefts. You’ll have a minute or so to move and get your spot – don’t worry about looking like a freak running up and down the beach 30 metres or so.
3) A long lens will make the wave more prominent, a wide angle will show more surroundings. Think about photos in the mags that you like, what you like about them and take inspiration from that. Early golden light will give warmth to a shot, and even if it’s cold it will make you want to go surf. Backlit afternoon light (west facing coasts) can give a mystical glow to your photos, and every surfer knows a late afternoon session is the best way to finish the day.
4) One major rule in photography that applies to this kind of shot is the rule of the thirds for framing and positioning the subject. Settings wise, you have to play around with your depth of field to get the surfer and the wave to stand out on the photo, but make sure to get the it sharp. It’s a bit harder to get a sharp shot when it’s pulled but there are some tricks you can use – just experiment. Stay focused, don’t let people come and talk to you too much, and keep your eyes peeled on that ocean.